

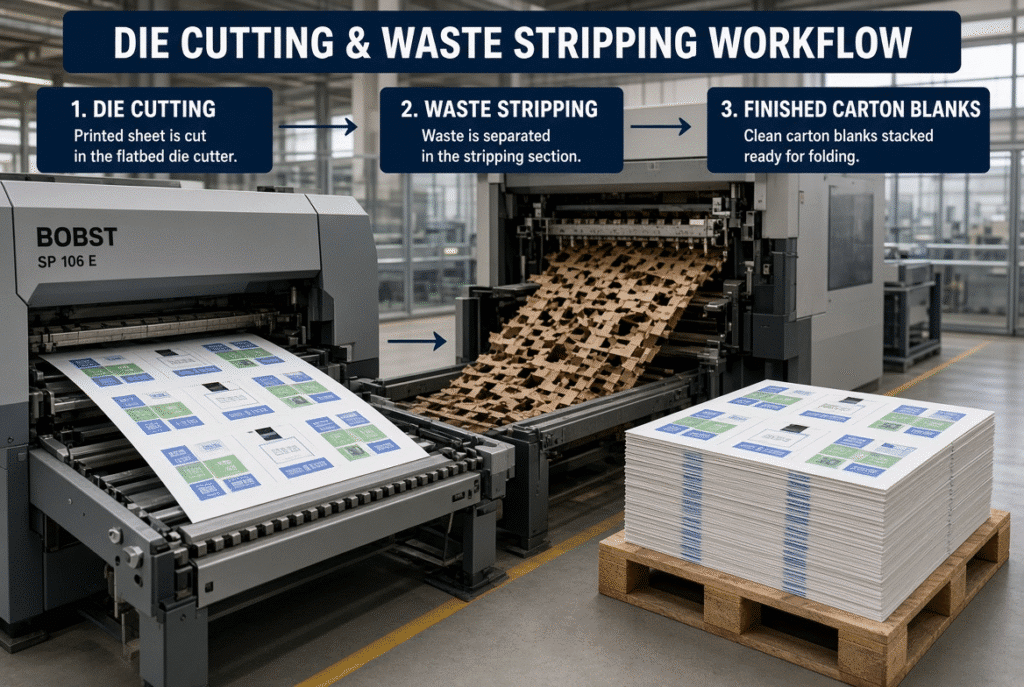
Printed paperboard sheets are converted into separated carton blanks through the controlled feeding, registration, die cutting, creasing, waste removal, delivery and inspection process of the die cutting and waste stripping process. The end result of any machine action is never a finished carton. A feeding problem can cause a shift in registration; a shift in registration can cause a shift in a cut or crease, and an incorrect stripping setup can cause a waste to be left attached or cause damage to the blank. It is important that packaging plants find the actual cause of the defects before they arrive at the folding and gluing step, by understanding the entire process, from sheet feeding through to finished-carton preparation.
Stage 1 – Preparing Printed Sheets for Die Cutting
The first sheet entering the machine does not indicate the production quality; it starts before that. The material has to conform to the die configuration, the machine format as well as the subsequent converting process.
Sheet Material, Size, and Condition
The paperboard or selected corrugated board should be delivered at a uniform thickness, stiffness, flatness, and at an even moisture content. Feeding instability that occurs due to curl, edge damage, dust or mixed batches can result in registration problems or incomplete cuts. A machine may have the size of sheet it can handle, but it may not be able to handle unstable material and therefore some blanks may be defective.
Printed Registration and Die Layout
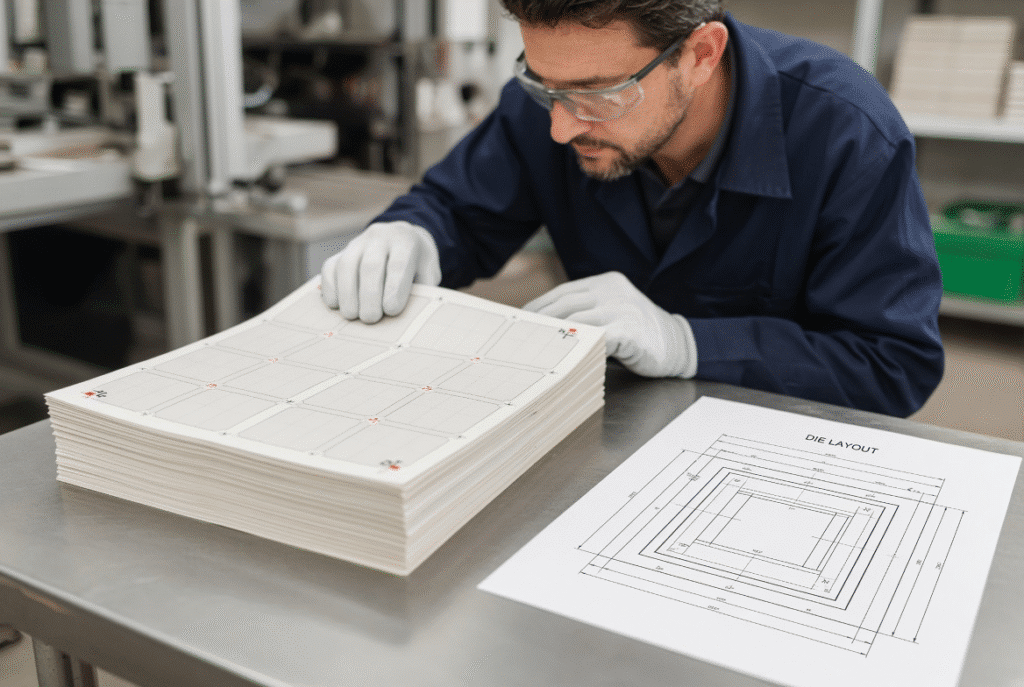
Printed graphics, cutting lines, creasing lines, internal windows, glue flaps and waste bridges need to be placed in such a way as to correspond with the orientation of the graphics on the die and the orientation of the sheets. A small print-to-die shift, on a multi-up cosmetic carton, can shift a window edge, shorten a glue flap, or cut into a barcode.
Storage and Pre-Production Inspection
Before loading, sheets should be inspected for warp, thickness variation, surface marks and batch mixing. It is better to remove abnormal material at this point than make repeated adjustments to the machine to correct it.
Stage 2 – Sheet Feeding and Registration
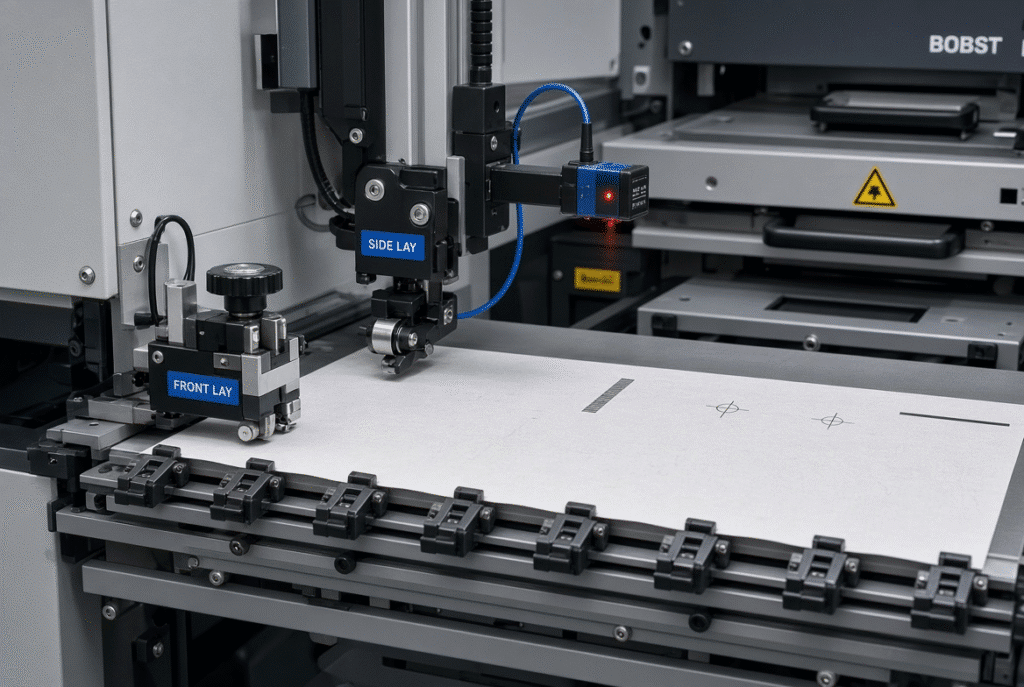
Therefore, feeding is the basis for all the subsequent operations. The feeder should feed each sheet apart and with a controlled rate in order to allow the registration system to position each sheet against fixed reference points.
Sheet Separation and Double-Sheet Detection
The feeder is a device to separate one sheet at a time by controlled vacuum or friction. A double-sheet detection prevents two sheets from running together, stopping the machine, or causing damaged tooling or jammed sections on the downstream side.
Front Lay, Side Lay, and Gripper Position
A repeatable reference edge is created by front lays and side lays. The gripper margin (the part of the sheet caught by the gripper bars) should be constant and allow the sheet to pass through the die cutting and stripping stations without any skew. Changes in any of these will affect the relationship between the printed graphics and cutting and creasing guidelines.
Why Feeding Errors Appear Later as Product Defects
An incorrectly aligned sheet will cause the cuts and crease to shift. If poor separation occurs, it can lead to machine stoppages or double impressions. Unstable registration aligns windows, panels or glue flaps incorrectly. Even if the stripping tools are correctly positioned, the incorrect position can lead to the tools touching the wrong locations on the sheet. A defect may be caused upstream of the stripping unit but not be detected by the operator because they only check the stripping unit.
Stage 3 – Die Cutting and Creasing
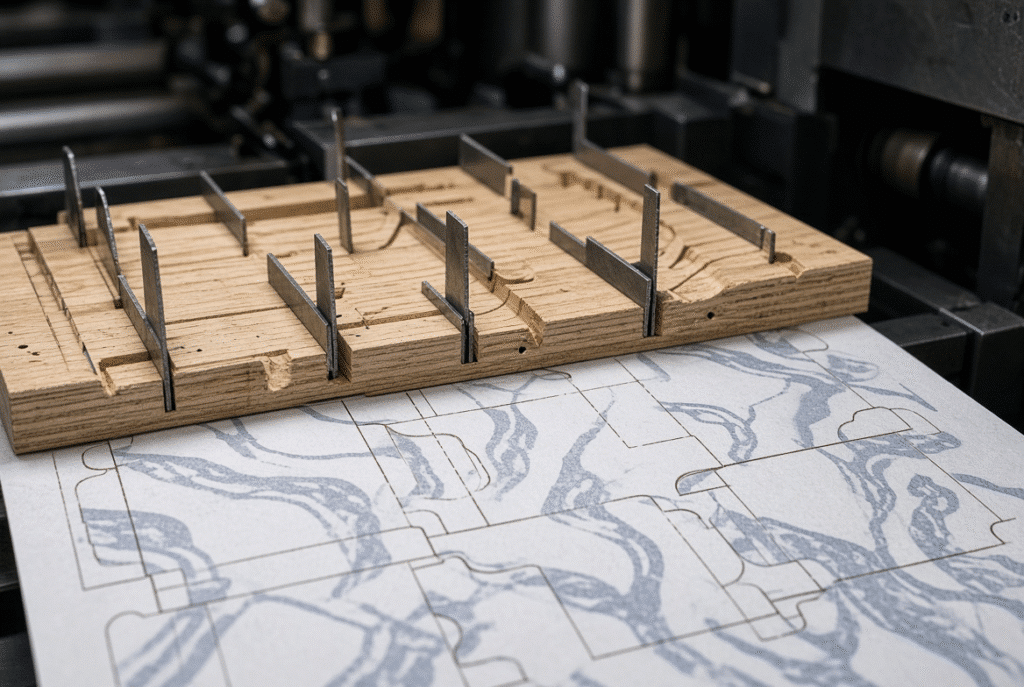
After registration, the platen shuts and the die simultaneously cuts out the outline of the carton and creates crease lines for subsequent folding.
How the Cutting Die Creates the Carton Shape
Cutting rules are used to represent the outer blank shape, internal windows, locks and separations between multiple products on a single sheet. Multiple copies of the same or nested carton blanks can be created from a single printed sheet using a single die.
How Creasing Supports Later Folding and Gluing
Creasing rules will fold board without cutting. If the crease is not deep enough, not light enough, or is not aligned, the blank will crack, buckle, or not fold when it reaches the folder-gluer.
Pressure, Die Alignment, and Cutting Consistency
As long as the pressure is stable, the die is aligned and the thickness of the substrate is uniform, each rule will be able to be cut properly and each crease will be formed properly. If the pressure is too great, the board or tooling gets damaged; if it is too low, the cuts are not completed which creates resistance to stripping later on.
Stage 4 – Waste Stripping After Die Cutting
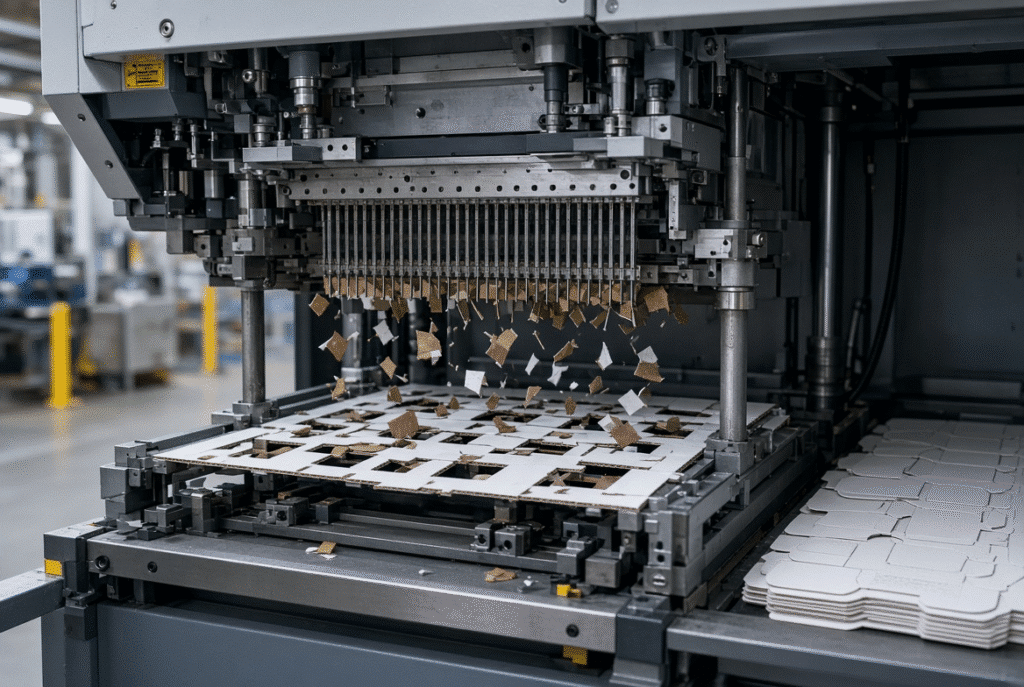
Die cutting is not enough to make a blank. All outer waste, inner waste and waste material between the nested products has to be taken.
Outer Waste, Internal Waste, and Waste Between Products
Product group is surrounded by outer waste. Internal waste is that which occurs in windows, handles or openings. There are small edge pieces and waste bridges between (around) the blanks. Removal difficulty is influenced by the die layout, the hardness of the substrate to remove, and waste sizes.
Plate and Needle Waste Stripping Systems
Systems that push or hold waste with a contoured surface are considered plate-type systems. Selected pins are used for needle type systems which penetrate and remove certain waste areas. Both methods are not always the most preferable, and depending on product geometry, waste pattern, substrate and production volume, one or the other method may be more suitable.
Why Tool Alignment Matters
The stripping frame should match exactly with the positions of the die-cut. Misalignment results in waste attached, damaged finished edges, marks on printed surfaces or jams. The stripping performance of the machine should be assessed with actual product samples and die drawings, not just the general description of the machine.
Stage 5 – Delivery, Stacking, and Inspection
Following stripping, the blanks are returned to the operators in an organised pile for quality control and for the material to be ready for downstream processing.
Collecting Finished Carton Blanks
The leveling and movement of the delivery-table is automatic, which provides consistent and square stacks. Counting, bundling and transfer to the subsequent process is easier with the organized piles.
In-Line and Post-Process Quality Checks
The following should be checked by operators: cut completeness, crease quality and position, print-to-die registration, cleanliness of internal openings, edge condition, residual waste, surface marks, and stack alignment. If an entire batch of items is found to be the same type of defect, then it can be caught early and the material won’t be sent to the folder-gluer.
Non-Stop Sampling and Production Continuity
In certain configurations, it is possible to perform sampling without total stoppage. This is available if present to enable the operator to keep track of quality during the production. Availability subject to machine set-up and confirmation with supplier.
Stage 6 – From Die-Cut Blank to Finished Carton
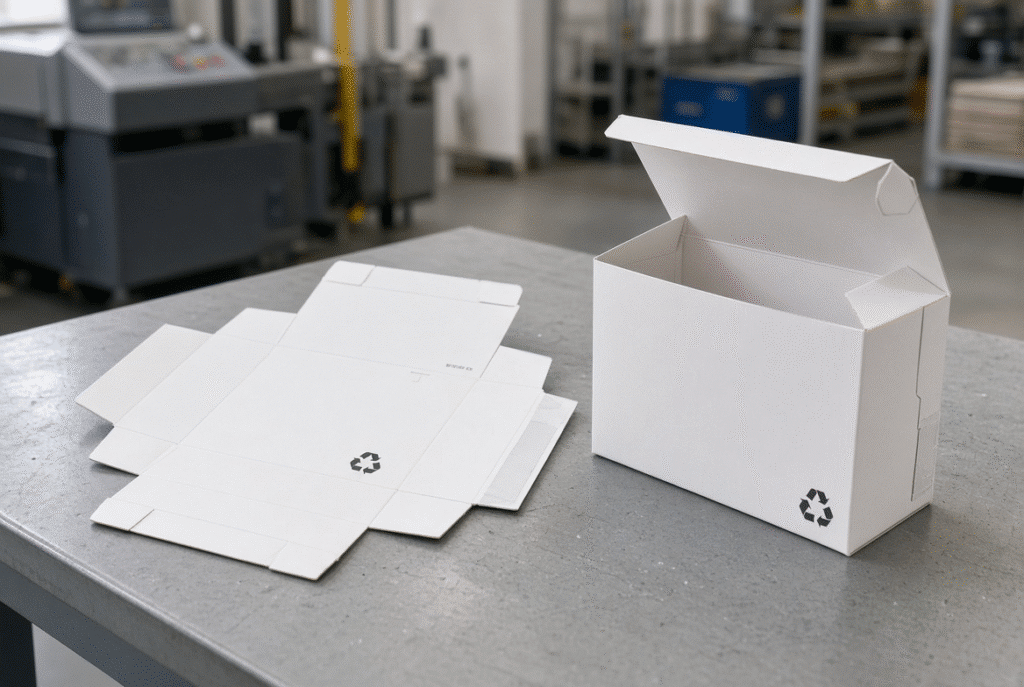
The blank is not a carton, it is prepared by the die-cutting and waste-stripping process. The blank is sent to folding, gluing, window patching, etc. to be converted.
Folding and Gluing
The blank folds and locks based on crease lines, gluing flaps and panel alignment. The feeding issues, carton shape or the failure of the adhesive on the folder-gluer are related to attached waste or damaged creases.
Window Patching, Bundling, and Packing
Consistently separated blanks and clean blanks minimize interruptions in the window-film application, counting, inspection, and final packing process. The residual waste or damage at this stage usually requires manual rework.
Why Upstream Defects Become Downstream Problems
Registration shift is caused by a feeding error. When registering, you get cuts or creases out of place. If the cutting is incomplete, waste is produced which cannot be stripped. Bad stripping results in damaged edges or leaves. Disorganized delivery – mixing good and bad blanks. The folder-gluer then discards the cartons that have faults that have been introduced a lot further back in the process.
Common Problems in the Die Cutting and Waste Stripping Process
| Symptom | Likely Cause | First Check |
| Incomplete cutting or creasing | Incorrect pressure, worn rules, material variation, die misalignment | Pressure setting, tooling condition, sheet thickness |
| Waste remains attached | Weak cuts, poor waste bridges, stripping-tool misalignment, sheet skew | Die layout, registration, stripping pins or plates |
| Finished blanks damaged | Excessive stripping force, wrong tool contact, weak product areas | Tool contact points, product support, registration |
| Sheets jam or stacks uneven | Feeding instability, double sheets, curl, waste accumulation | Sheet condition, feeder settings, delivery alignment |
How to Improve Process Stability
Standardize Pre-Production Checks
Check the state of materials, sheet size, thickness, flatness, die condition, layout of the products, stripping tooling and machine configuration before every job. This step eliminates the waste caused by starting up and helps to avoid compensation due to inappropriate materials for machine adjustments.
Document Setup Parameters
Record sheet guides, register settings, pressures, stripping-tool settings, delivery settings and known trouble spots for repetitive jobs. Documentation reduces changeovers and cross-shift troubleshooting.
Inspect Early Sheets and Monitor the Run
Check product edges, delivery stack quality, internal waste, start-up and regularly check registration, cuts and creases. It’s so much easier to fix a defect at an early stage than redo a whole batch.
Maintain Feeding, Stripping, and Delivery Components
Ensure that sensors are kept clean, transport components are kept in good condition, needles or plates are kept without damage and that fasteners are secure. Perform lubrication and inspection according to manufacturer’s schedule.
Selecting a Die-Cutting Machine for This Process
Match the Machine to Sheet and Product Requirements
Verify maximum and minimum sheet size, maximum die-cutting area, material range, product format, number of blanks per sheet, gripper margin and required volume. Machines like the DAIS D1060Q series are optimized for formats between 1060 x 770 mm corresponding to the die-cutting areas and a minimal gripper space of approximately 8 mm (final value always to be confirmed with the specific machine configuration).
Confirm Waste-Stripping and Delivery Configurations
Explain the difference between plate and needle stripping, and determine which is available, optional, or used. Verify stripping frames, accessories, delivery functions, sampling capability and stack control features. Product pictures and model names are not a substitute for a written configuration list.
Ask for Sample Testing and Process References
Print out actual sheets, substrate information, product drawings, die layouts and challenging waste patterns to test. Ask to see the whole process from feeding to registration, die cutting to waste stripping to delivery and finished-blank quality, and ask for references from plants that are running similar products.
Summary Guidance – Treat Die Cutting and Waste Stripping as One Process
To achieve this, the sheet feeding machine needs to be stable, the registration needs to be accurate, the sheet needs to be cut and creased without error, the waste needs to be stripped correctly, the delivery needs to be organized, and needs to be inspected early. If a fault is made at one point in the sequence, this fault can be carried on through the whole sequence, and only emerge when the blank reaches the folding or gluing point. The best approach for assuring finished-carton quality is to look at the process as a whole system; not as a series of machine functions.
If you are looking for a full die-cutting and waste-stripping solution for your products, please provide DAIS with your sheet size, substrate information, product drawings, die layouts, waste patterns, production quantity and any downstream processes that are required. After which the technical team is able to check out the entire workflow as per your actual needs.